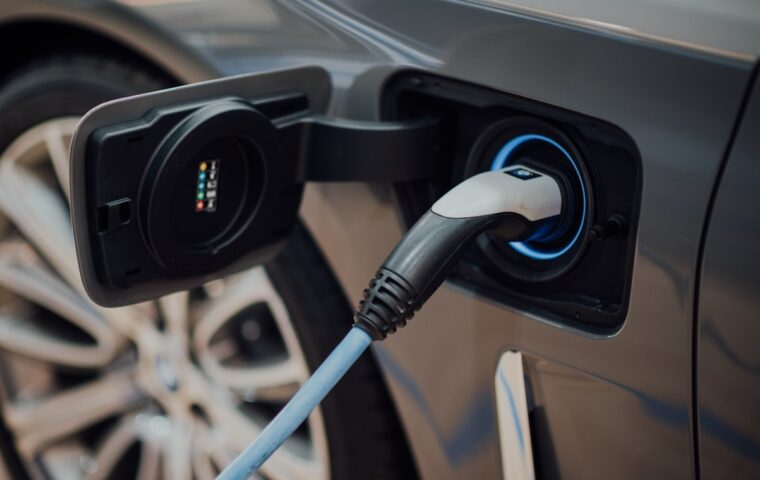

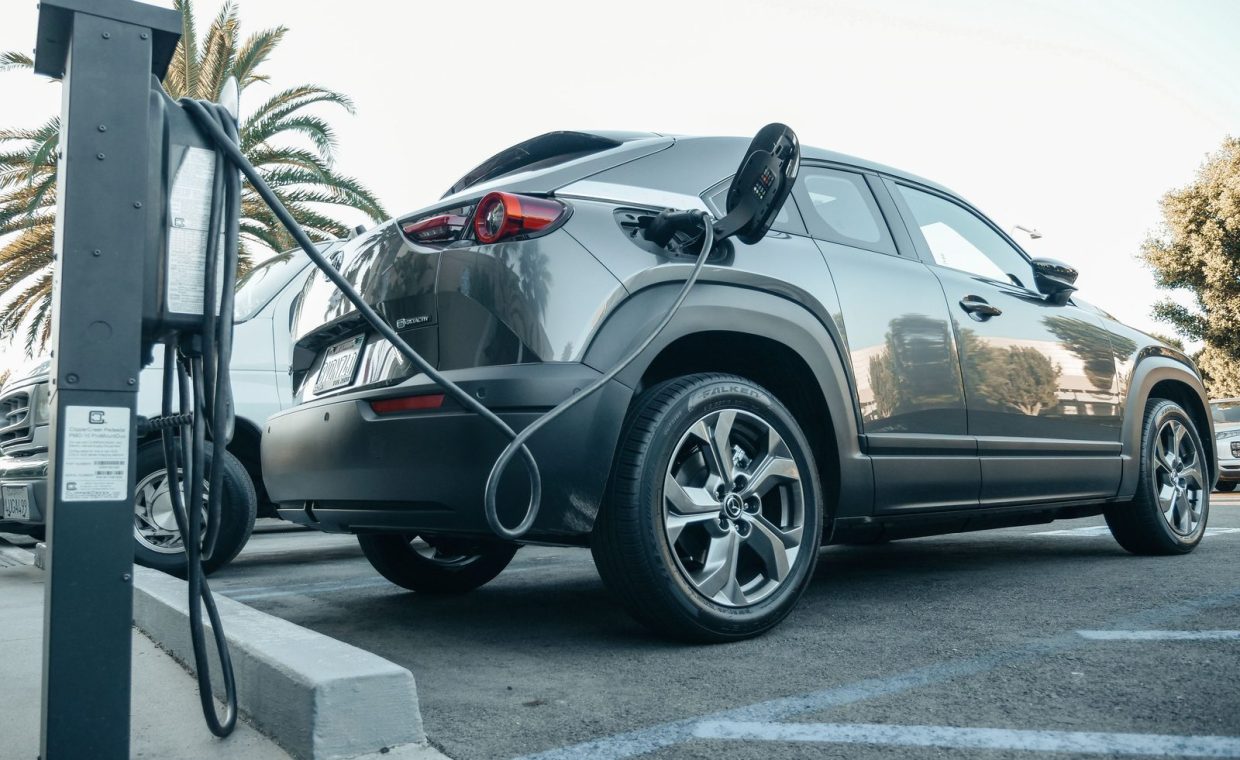
Esther bought a used Chevy Bolt and, with no dedicated outlet anywhere near where she parked, ran an extension cord through the garage window for two weeks. It worked, technically. The car charged. But every morning she was still complaining about how slow it was, and the cord kept pinching the window seal shut so the garage never closed quite right.
What Esther didn't realize is that home charging is the single biggest quality-of-life decision you make as a new EV owner. Get it right and you wake up to a full battery every day, the way you wake up to a charged phone. Get it wrong and you spend your first month doing math in your head about whether you'll make it home.
So let's walk through the actual setup, step by step. By the end you'll know which level of charging fits your life, what gear you need, and where most people trip up.
Figure Out How Much Range You Actually Add Per Hour
Before you buy anything, you need to understand the two ways to charge at home. They are not close in speed, and the gap is what drives every other decision.
Level 1 is a regular 120-volt household outlet, the same one your toaster uses. Plug in the cable that came with your car and you'll add somewhere around 3 to 5 miles of range per hour. Over a full overnight stretch, call it 30 to 50 miles back in the battery.
Level 2 runs on 240 volts, the same kind of circuit your electric dryer or oven uses. Depending on the unit and your car, you'll add roughly 20 to 40 miles of range per hour, which means a near-empty battery is full by morning.
If you drive about 40 miles a day, Level 1 quietly keeps up while you sleep. If you drive 80-plus miles a day or own a big-battery SUV, Level 1 will fall behind and you'll feel it by Thursday.
Audit Your Daily Driving Before You Spend a Dime
Here's the step most people skip, and it's the cheapest one. For one normal week, just note how many miles you drive each day. Your car's trip computer or odometer does this for free.
Now compare that weekly pattern to what Level 1 can replace overnight. If your daily number sits under about 40 miles, there's a real chance the cable in your trunk is all you ever need. No electrician, no permit, no purchase.
This is also where a lot of the fear melts away. Most of what people call the panic of watching the battery drop on a long trip comes from public charging stress, not home charging. If your car is full every morning, you start each day with a clean slate and the anxiety mostly disappears.
Decide Between Level 1 and Level 2
Now you can make the call with real information instead of a gut feeling. I tell every new owner the same thing: start by assuming Level 1 is enough, then look for reasons it isn't.
Stick with Level 1 if...
- You drive under roughly 40 miles on a typical day.
- Your car sits in the driveway or garage most nights.
- You have a working outlet within reach of where you park.
Step up to Level 2 if...
- You commute long distances or rack up unpredictable miles.
- You drive a larger battery vehicle (think a big truck or three-row SUV) that Level 1 can't refill in one night.
- You sometimes need a fast top-up between errands, not just an overnight fill.
- You own a plug-in hybrid and want to actually use the electric range daily.
| Factor | Level 1 (120V) | Level 2 (240V) |
|---|---|---|
| Range added per hour | About 3-5 miles | About 20-40 miles |
| Equipment cost | $0 (cable included) | Around $400-$700 for the unit |
| Install cost | None | Roughly $500-$1,500 with an electrician |
| Best for | Short commutes, plug-in hybrids | Long commutes, big batteries |
Get Your Electrical Setup Ready for Level 2
If you've landed on Level 2, this is the part that actually requires a plan. You have two routes, and the right one depends on your garage and your wallet.
The plug-in route uses a 240-volt outlet (usually a NEMA 14-50, the same style an RV uses). An electrician installs the outlet, you plug your charger into it, and you can unplug and take the unit with you if you move. This is the flexible, renter-friendly choice.
The hardwired route connects the charger directly to your electrical panel. It looks cleaner, can support higher power, and is often required for the beefiest units. The tradeoff is that it's permanent and a bit pricier to install.
Running a new high-amperage circuit is not a weekend project unless you genuinely know what you're doing. A licensed electrician will check whether your panel has spare capacity, pull a permit, and make sure the circuit is sized correctly. A botched 240V install is a fire risk, full stop.
One thing worth asking your electrician: does your panel even have room? Older homes with a 100-amp service sometimes need a load calculation or a panel upgrade before adding a big charger circuit. Better to learn that now than after you've bought a charger.
Choose the Right Charger (and Skip the Features You Won't Use)
Walk into this with a clear head, because charger marketing loves to upsell. For most people, the decisions that matter are amperage, cord length, and whether you want it indoors or out.
Amperage determines speed, but only up to what your car and circuit allow. A 48-amp charger does nothing extra if your car maxes out at 32 amps or your circuit is wired for 40. Match the charger to the weakest link, not the biggest number on the box.
Cord length is the unsung hero. Measure from where the unit mounts to your car's charge port, then add slack. A 25-foot cord covers almost any driveway. A short cord that doesn't reach is a daily annoyance.
Wi-Fi apps and scheduling are genuinely useful if your utility charges less for overnight electricity. If your rate is flat all day, a plain "dumb" charger does the same job for less money and one fewer thing to break.
If you do want app control, just know it usually lives in the charger's own app, separate from your dashboard. It's not tied into the phone-mirroring system you use for maps and music, so don't expect to manage charging from your car's main screen.
Install, Test, and Build the Habit
Once the unit is mounted and the circuit is live, the routine is almost embarrassingly simple. You pull in, plug in, walk inside. That's the whole thing.
For your first week, watch two numbers: how much range you actually add overnight, and whether the car hits full before you leave in the morning. If it does, your setup is right-sized. If it doesn't, you either need more amperage or a scheduling tweak.
Then build the habit of plugging in every night, even at 70 percent. EVs love to live in the middle of the battery range, and a nightly top-up keeps you there without thinking about it. This is the moment EV ownership clicks: you stop visiting gas stations entirely, and the car is just always ready.
Common Mistakes New Owners Make
A few patterns show up again and again, and they're easy to avoid once you know them.
- Buying a Level 2 charger before checking the panel. Confirm you have capacity first, or you'll be returning gear.
- Overbuying amperage. Paying for 48 amps when your car only accepts 32 is money lit on fire.
- Using a cheap extension cord for Level 1. Plug the car's cable directly into a known-good outlet. Extension cords can overheat under a continuous EV load.
- Ignoring the running cost. Charging at home is far cheaper than gas, but it's not free. If you're weighing the long-term numbers, this breakdown of how electric, hybrid, and gas ownership compare over the years is worth a look before you assume.
Track a week of driving, default to Level 1, and upgrade to Level 2 only if your miles or battery size demand it. When you do go 240V, hire an electrician, match the charger to your car's real limits, and pick a cord long enough to reach without a fight.
Can I just use a regular wall outlet to charge my EV?
Yes. Every EV comes with a Level 1 cable that plugs into a standard 120-volt outlet, and for short daily commutes it's often all you need. Just plug it directly into the wall, not through an extension cord, and use an outlet you trust is in good shape.
How much does it cost to install a Level 2 home charger?
Plan for roughly $400 to $700 for the charger itself, plus about $500 to $1,500 for a licensed electrician to install the 240-volt circuit. The install cost swings widely based on how far the wiring runs and whether your panel needs an upgrade.
Is it bad to leave my EV plugged in overnight every night?
Not at all. Modern EVs stop drawing power once they hit your set charge limit, so leaving it plugged in just keeps the battery topped up and ready. Setting a daily limit around 80 percent for routine driving is gentle on the battery over the long haul.
Home charging is one of those things that feels intimidating from the outside and almost trivial once it's set up. Esther eventually had a 240-volt outlet put in, ditched the window cord, and now she barely thinks about charging at all. Start simple, measure your real driving, and only spend on speed you'll actually use. Set it up once and let it fade into the background where it belongs.