
Simone had just dropped serious money on a big-brake kit for her Mustang, six-piston calipers and oversized rotors, the kind of upgrade you save up for. Then she babied it the whole way home from the installer, feathering the pedal at every light like she was scared to wake the thing up. By the time she called me, the pads were glazed, the pedal felt wooden, and she was sure the expensive parts were defective.
That is the part nobody warns you about. The pads and rotors are only half the job. The other half happens in the first 20-30 minutes of driving, and if you skip it, you can ruin good hardware before you even get it dirty.
So let me walk you through how I bed in a fresh set, the same way I do it on my own cars and customer cars. It is not complicated, but the order matters and so does your patience.
Why Bed-In Actually Matters
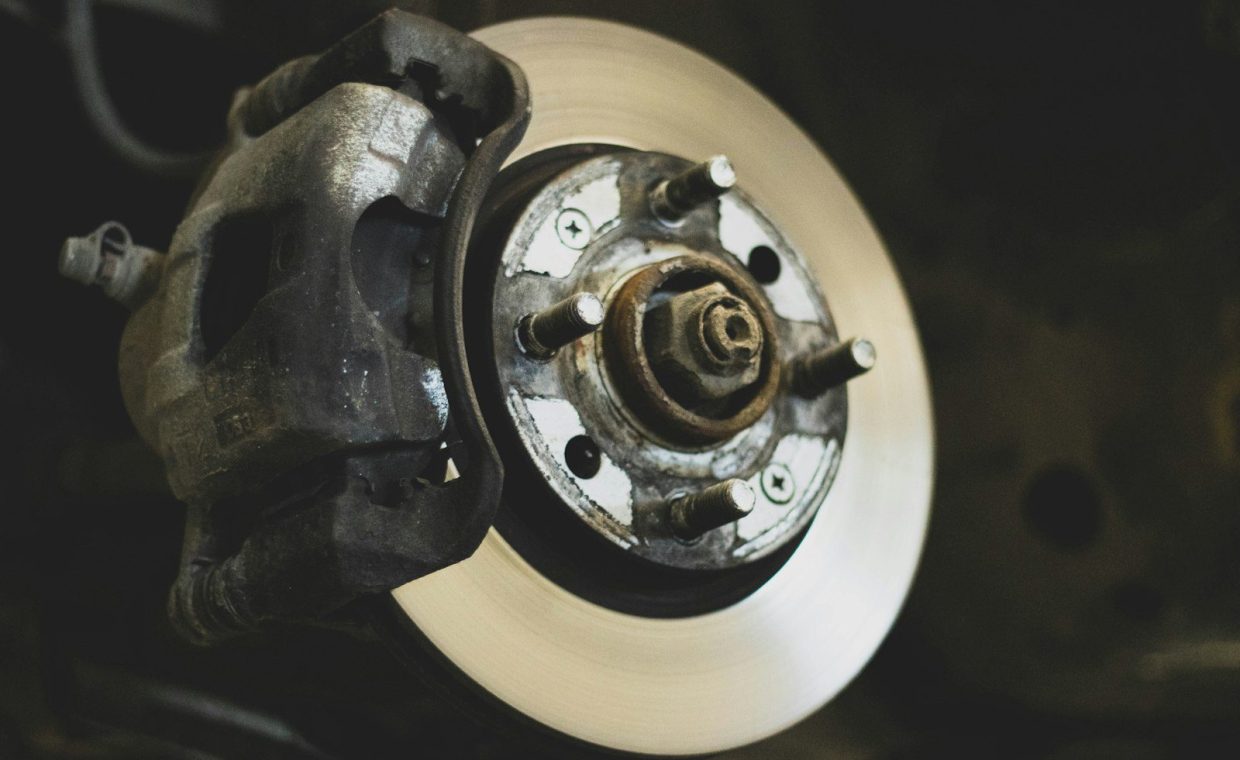
When you slow a car, you are turning motion into heat through friction between the pad and the rotor face. Bedding in (some folks call it break-in or burnishing) lays down an even, thin layer of pad material onto the rotor surface. That transfer layer is what gives you smooth, consistent bite.
Skip the process and you get uneven deposits instead. Those high and low spots are what most people feel as "warped rotors," and I'd bet roughly half of the warped-rotor complaints I hear are really just bad transfer layers from a botched break-in.
Bedding in is controlled heat. You are seasoning the rotor like a cast-iron pan, building an even friction surface before you ever drive it hard or in traffic.
Do it right and you get quiet braking, strong cold and hot bite, and far less of the shudder that drives enthusiasts crazy. Do it wrong and you chase squeals and vibration for the life of the pads.
Read the Pad Maker's Instructions First
Before you touch the car, find the little slip of paper in the pad box or pull up the manufacturer's bed-in sheet. Different friction compounds want different things, and a street pad and a track pad are not the same animal.
A mild ceramic street pad might bed in fully with a handful of moderate stops. An aggressive track compound can need more cycles and a lot more heat before it bites the way it should. The maker knows their material, so their numbers beat any generic procedure, including mine.
Take a photo of the instruction slip before it gets buried in your workbench clutter. I keep a folder on my phone just for bed-in sheets, because the box always disappears two days later.
Find Safe, Open Road
You need a stretch where you can accelerate to highway speed and brake hard several times in a row without traffic, cross streets, or a cop wondering what you are doing. An empty industrial park early on a Sunday is gold. A frontage road with long sightlines works too.
Do not try this in stop-and-go traffic. The whole point is repeatable, hard stops with cool-down in between, and you cannot get that weaving around minivans.
Make sure the car is mechanically sound before you start. New pads on tired calipers or a soft brake hose will just hide problems. If you are unsure whether your own hands or a shop should handle the install, my take on which car jobs are worth doing yourself versus farming out covers where I draw that line.
Run the Bed-In Cycle
Here is the procedure I use for most street and street-to-track pads. Adjust the numbers if your pad sheet says otherwise.
- Get the car to roughly 60 mph on a clear road.
- Brake firmly and smoothly down to about 10 mph. Firm, not a panic stop, and never lock the wheels or trigger heavy ABS thrashing.
- Accelerate back up to 60 and repeat. Do this for about 8-10 stops.
- You want each stop a little harder than the last as the brakes build heat. By the end you should smell that hot-brake odor and maybe see a little haze. That is normal.
The single most important rule comes next.
After that last hard stop, keep rolling. If you come to a complete halt and clamp the hot pad against the rotor, you will press pad material into one spot and create the exact deposit that causes shudder. Drive gently for a few minutes and let air do the cooling.
After the cycle, cruise for around 5-10 minutes at moderate speed using light brake pressure only. You are letting everything cool down evenly while that fresh transfer layer sets. Then you are basically done.
The Easy First 200 Miles
Bedding in does not end when you park. For the next 200-300 miles, treat the brakes with a little respect. Avoid hard, dragging stops and try not to sit at a long red light riding the pedal right after heavy braking.
This window lets the pad fully cure and the transfer layer mature. Rush it and you can glaze the pad surface, which feels like a hard, low-bite pedal that never quite wakes up. Glazing means more heat, more cycles, sometimes a light sanding of the pad face to fix.
Read the sheet, find open road, run 8-10 firm stops from 60 to 10 without coming to a full halt, cool down gently, then drive easy for a couple hundred miles. That is the whole game.
Common Mistakes I See in the Bay
The number one error is the one Simone made with her new Mustang setup: driving home like a saint and never getting the brakes hot at all. Cold, timid braking glazes pads and leaves a patchy, uneven rotor face.
A close second is mixing old and new. Slapping fresh pads onto rotors that still carry the old pad's transfer material is a recipe for vibration. If you are reusing rotors, get them resurfaced or at least scuff them clean so the new compound can lay down its own layer.
Here is a quick reference for what goes wrong and what it usually means.
| Symptom | Likely Cause | Fix |
|---|---|---|
| Steering shudder when braking | Uneven pad deposits | Re-bed with proper hard stops, or resurface rotors |
| Squeal at low speed | Glazing or no transfer layer | Heat cycle the brakes, check shim/hardware |
| Soft, low bite | Glazed pad surface | Sand pad face lightly, re-bed |
| Blue-tinted rotors | Severe overheating | Inspect for cracking, possibly replace |
And the third mistake is buying way more brake than the car or driver needs. A daily driver does not require race compounds, and over-pad setups often run cold on the street and never bite right. I get into that whole trap in my piece on how chasing big numbers quietly wrecked a build I knew.
Matching the Pad to How You Actually Drive
The best bed-in cannot fix the wrong pad. A lot of enthusiasts assume a more aggressive compound automatically stops shorter on the street, and that is one of those common performance myths that just drain your wallet.
Track pads need real heat to work. On a cold commute they can feel wooden, wear your rotors faster, and dust like crazy. A quality street or street-performance ceramic will out-brake a race pad in normal driving every time, and it bleeds quieter too.
So pick the friction material for your real-world driving first, then bed it in correctly. That order saves money and frustration.
How long does it take for new brakes to feel normal?
The bed-in cycle itself takes about 20-30 minutes of driving. Full bite usually settles in over the first 200-300 miles as the pad cures and the transfer layer matures, so expect them to keep improving for a few days.
Do I need to bed in pads if I only replaced the rotors?
Yes. New rotors have a bare surface with no transfer layer, so even your existing pads need a fresh bed-in cycle to deposit material evenly. Treat it like a brand new pad-and-rotor combo.
Can I bed in brakes on a regular commute instead of a special drive?
Not really. Bedding in needs repeated hard stops without coming to a full halt, which you cannot do safely in traffic. Find a clear, open stretch of road for the cycle, then commute normally afterward.
Bedding in is one of those small jobs that pays you back every single time you hit the pedal. Give it a clean stretch of road, a little heat, and the patience to not slam to a stop while everything is glowing, and your upgrade will reward you with quiet, confident braking for years. Now go find an empty road and get those rotors seasoned the way Simone wishes she had the first time.